Displaying items by tag: software
GIMP: A Free Alternative to Photoshop
Yeah, so it turns out that my Adobe Photoshop membership expired today.
I actually let it expire, rather than renew it for another month. I confess, in the past, I had used versions of Photoshop that did not come from the usual channels. After a bit of repentance, I decided to purchase the software when it came to my attention that only monthly subscriptions are available.
Now that might sound like a good idea, but for the work that I do, I don't need to keep paying $30 every month for a product that's only worth about maybe $60 total. Perhaps a decade or more ago, Photoshop was the "go-to" application for desktop publishing and graphic editing, but now there are so many alternatives that you can get at a fraction of the price you'd pay for Adobe's product.
Today, I decided to go with a FREE alternative that's been around for a while.
The GNU Image Manipulation Program (or GIMP for short) is a cross-platform image editor available for GNU/Linux, OS X, Windows, and more operating systems. It is free software, you can change its source code and distribute your changes.
Whether you are a graphic designer, photographer, illustrator, or scientist, GIMP provides you with sophisticated tools to get your job done. You can further enhance your productivity with GIMP thanks to many customization options and 3rd party plugins.
Installation is quite simple and straightforward on a Mac.
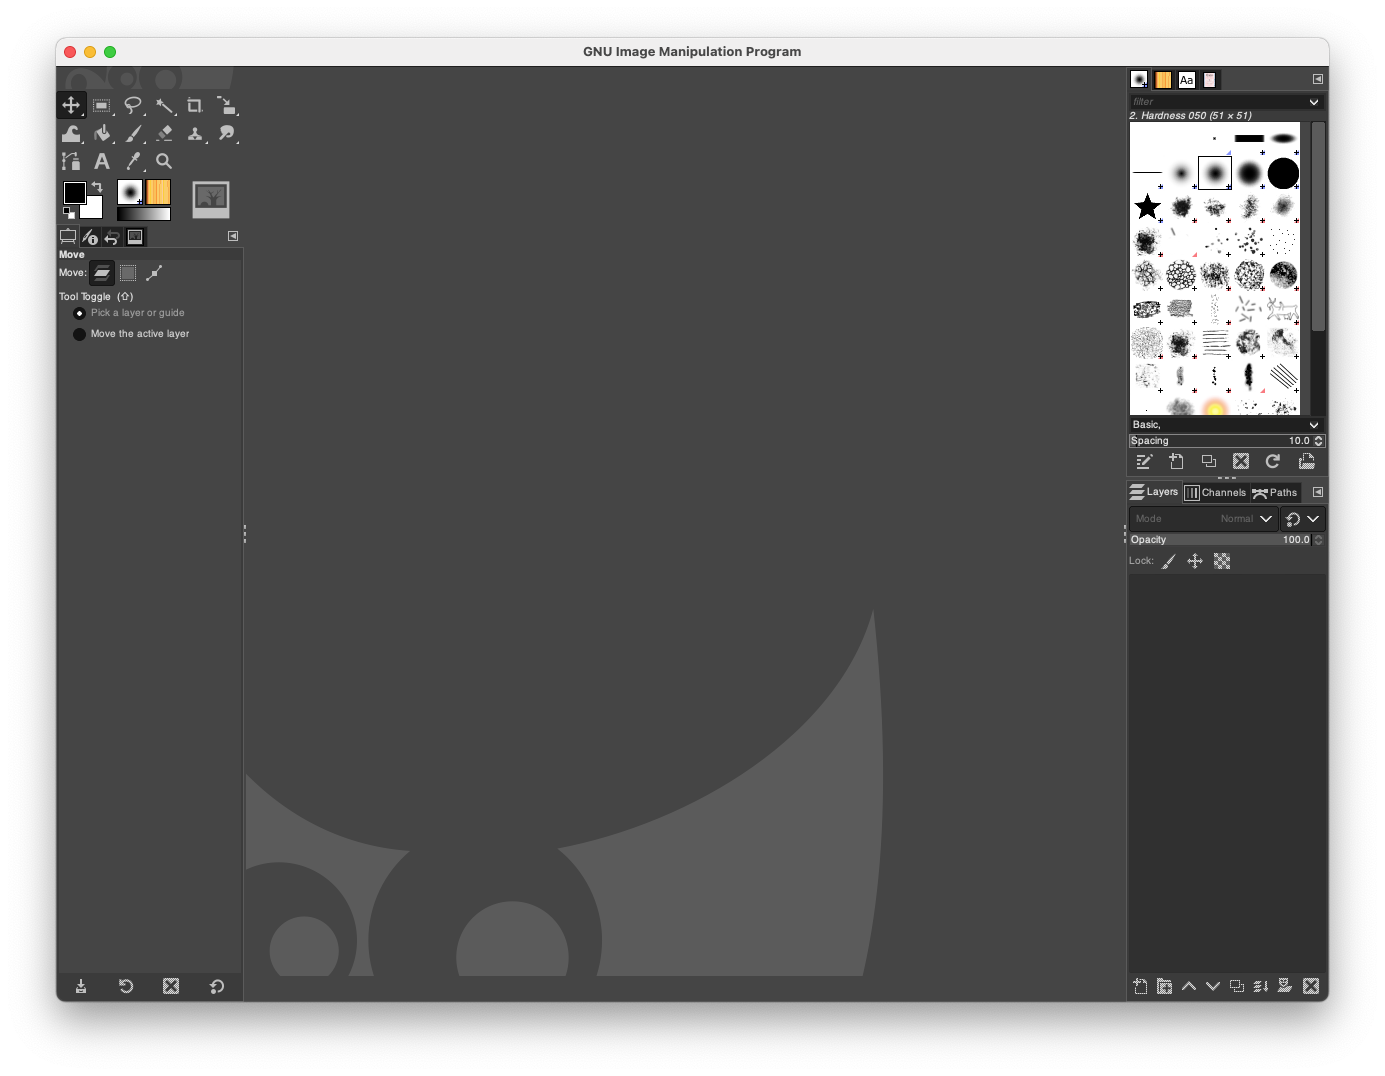
The interface is similar to what Photoshop has. For the work I do, I mainly need to be able to use Layers, be able to trace and contour and have access to lots of fonts.
Fortunately, there's a simple method to import all the fonts available from Google and have them at my ready for the next art project!
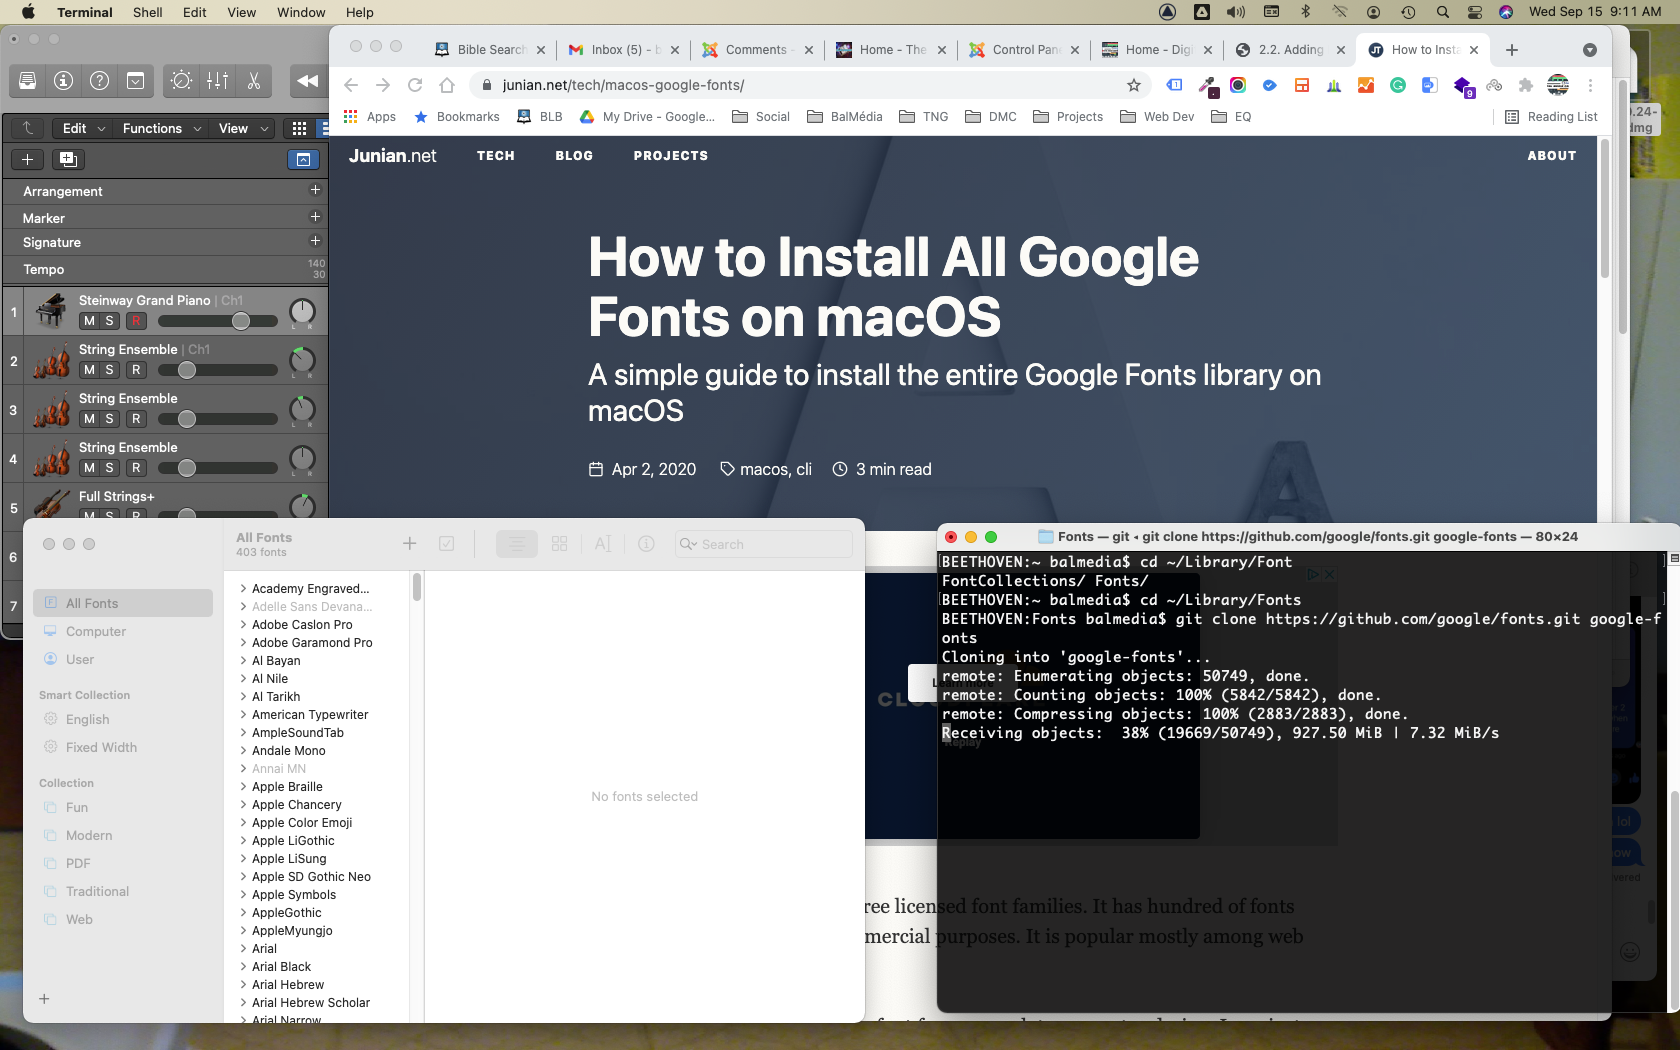
I was able to find a short shell script that does all the work for me.

It only needed a few lines of script to get to the hard drive directory where the font files would be mirrored in real-time with Google's server. It took about 5 minutes for the job to complete.
And then came the test to see if my Photoshop PSD project file will open sans faute in GIMP... I think I just saved myself $30 per month.
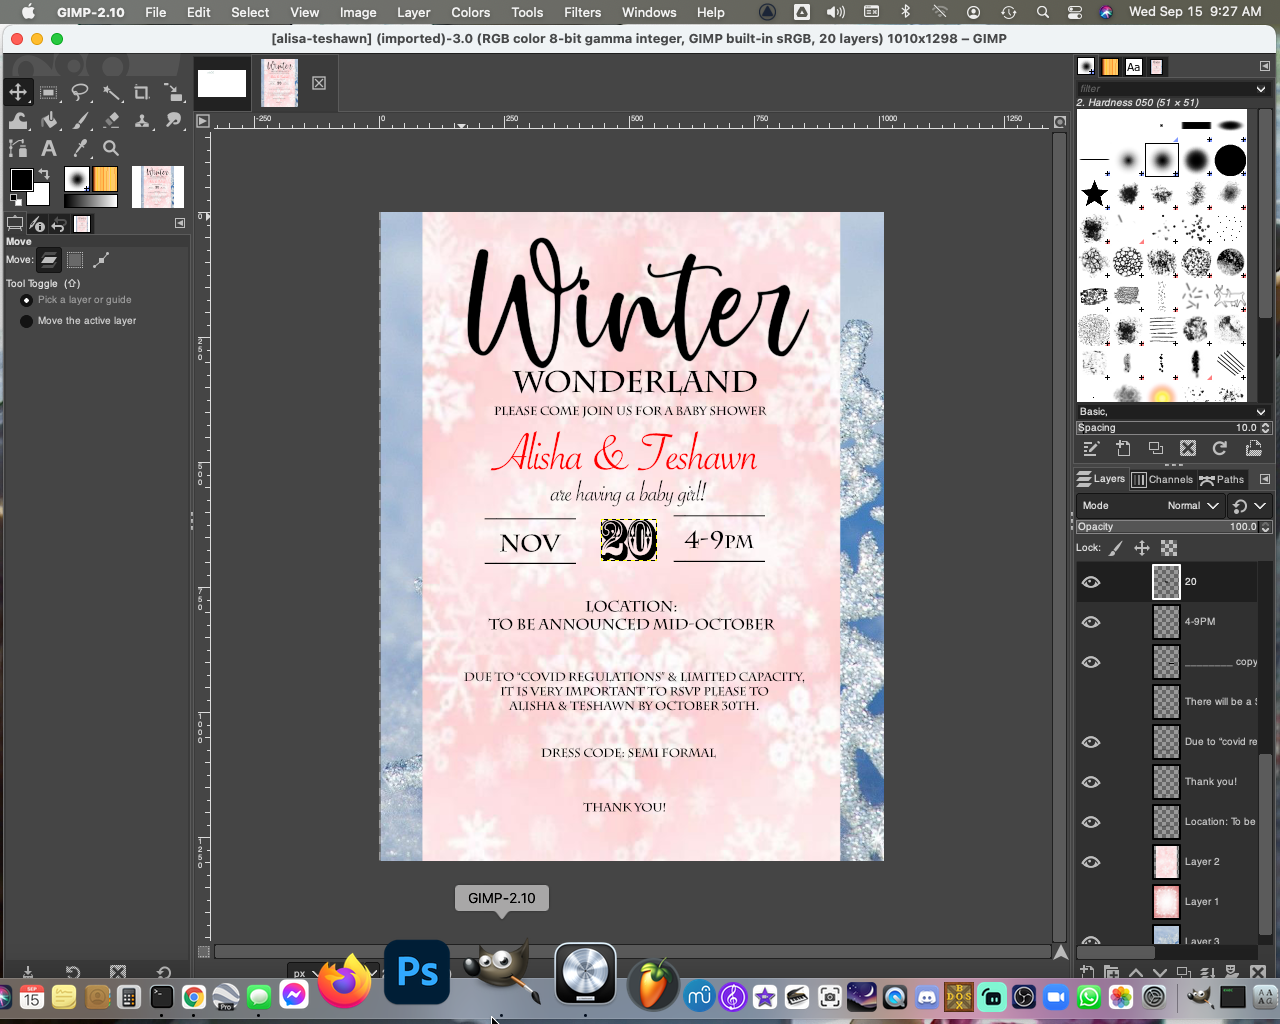
I'm quite happy with the final result, and it looks like I can finally delete that Ps icon in my Dock. Cheers everyone, have a nice day!
SOURCE
How to Setup an Affordable Home Recording & Podcast Studio
By now, I'm sure you've noticed that podcasting is a growing trend on social media.
With some good planning and a small budget, you too can get into the podcast and home recording studio game. Here are some tips on what you'll need to have a professional quality studio at home.
1. Computer
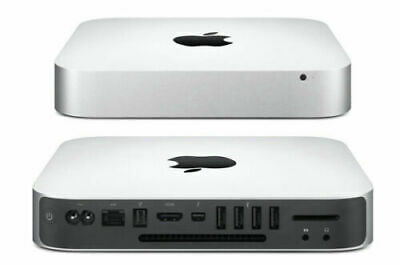
Avoid extra headaches and get yourself a Mac! I highly recommend the Mac Mini series for their compact size with a lot of punch! Make sure there's at least 8GB of memory configured. You can get away with 4GB, but you'll eventually run out of system resources slow your system down tremendously.
2. Audio Interface

It has been about a year that I have had my Zoom LiveTrak-8, and I must say I am very pleased and impressed with its capabilities and performance. It can run up to 1 ½ hours with just four AA batteries, or on a USB battery, so you can podcast from anywhere. It also has an SD card interface that allows you to record while you live stream. It works well with all my DAW software (Logic, FL Studio) and with Zoom, Google Meet or any other podcasting or streaming service.
3. Microphones

If you're just doing regular podcasting, you can get a good condenser microphone kit, such as the Audio Technica or Zoom podcast kits. Both come with a mic stand and headphones.

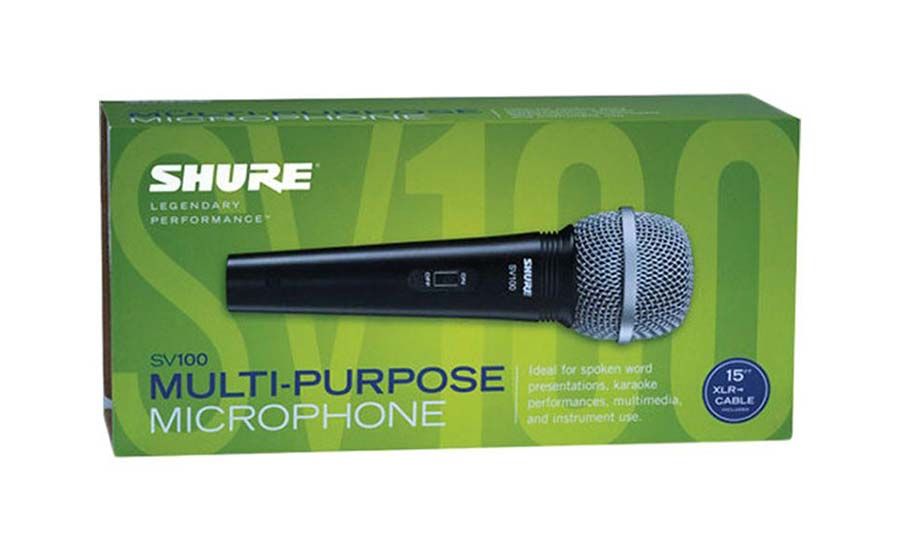
For recording your voice for music, you'd need a dynamic microphone with a stand. I picked up a Shure SV-100 with an On-Stage boom microphone stand.
Whichever microphone you get, make sure to get a pop filter which will make a difference in how certain hard sounds come out on audio.
4. MIDI Keyboard
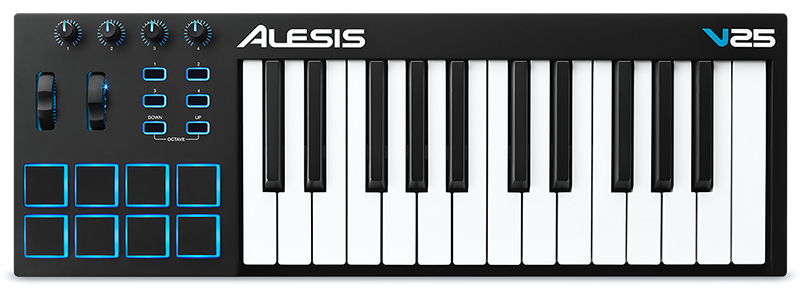
Since we're just starting out, there's no need to go out and get a large keyboard that will take up space in your room. The Alesis V25 has 25 keys (2 octaves), pads, and knobs that can be assigned to different sounds or functions in your favorite DAW.
5. Studio Monitors
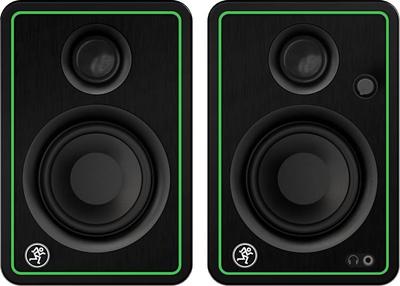
We're going to need speakers for your studio. One set I recommend is the Mackie CR-X multimedia monitor. They're not the fanciest, but the price for the quality ratio is acceptable.
Altogether, we're looking at a budget of under $3,000 for your home studio and podcast projects. It's money well worth investing in especially if we end up with more lockdowns. I know there are more rounds coming, and I wanted to be sure I had all I needed to keep my sanity while kept at bay!
6. Streaming Software
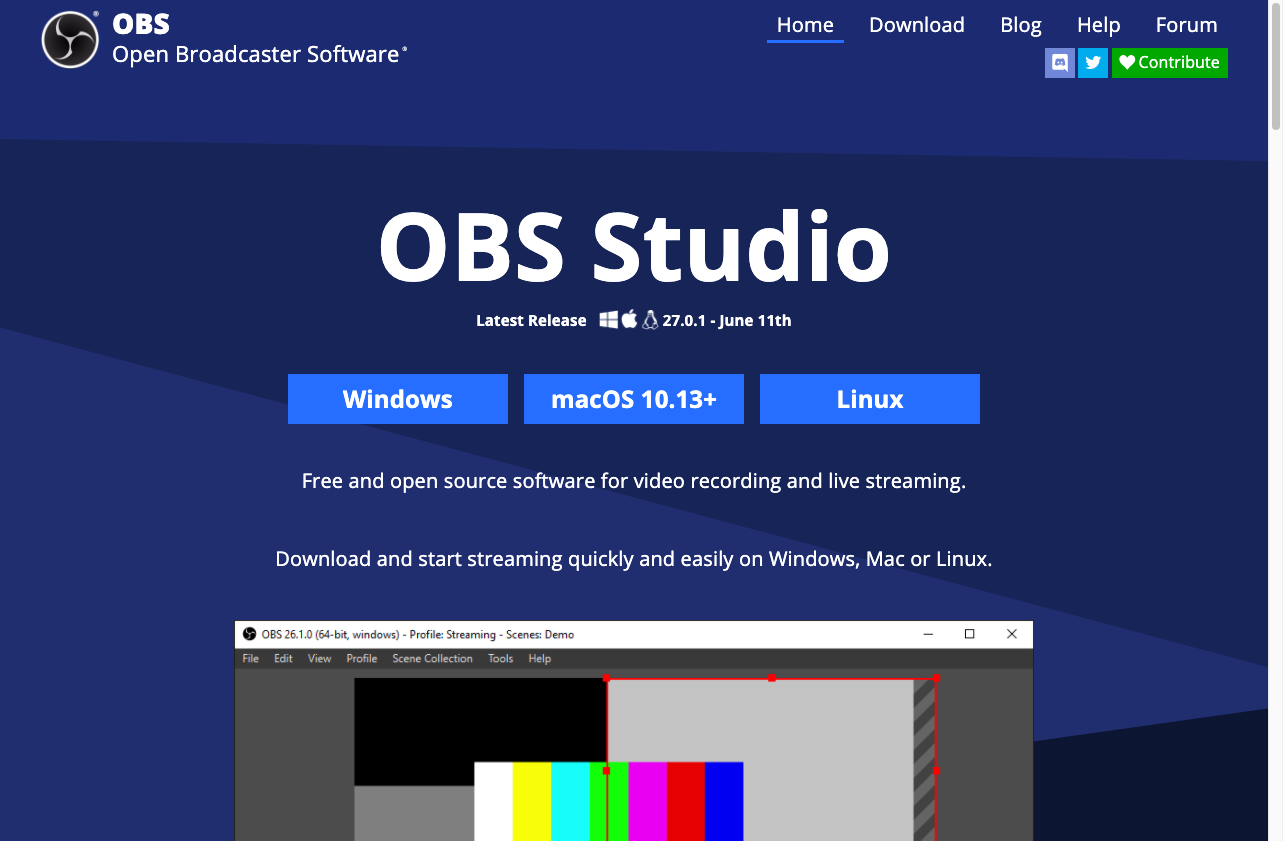
OBS Studio allows you to create scenes that give your visual broadcasts a more professional look and feel. You can also record your sessions to a hard drive for later editing. There is another version available from Streamlabs that has additional features. It really depends on what you plan to do with your podcasts that will determine which broadcast app to use. Sites like TikTok and Instagram do not allow for use of a streaming service for your feed. You won't have any issues with YouTube, Twitch, Facebook, and a few others.
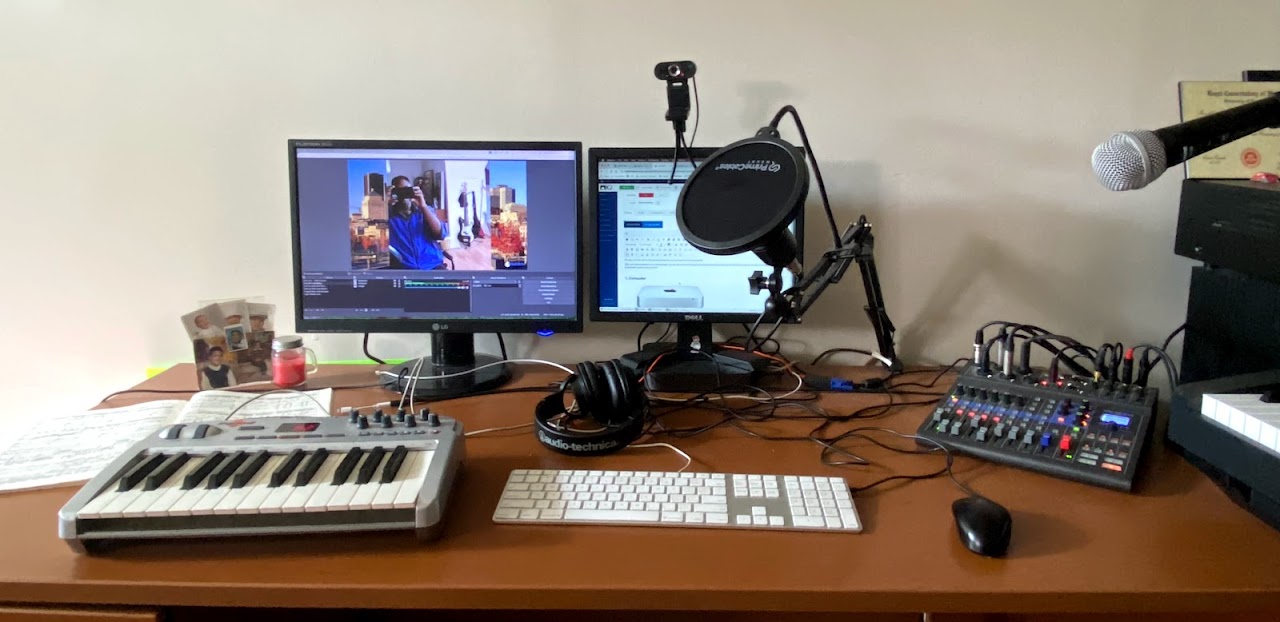
Here's what my desktop studio looks like. Once you get your setup ready to go, please send me a pic! While you're at it, why not send me your blog page so I can subscribe, like and share!
3 Easy Apps You Can Use For Writing Your Music
Now that you've taken the time to clear your mind from the daily drama n grind, you can finally get to committing that song you've had in your head onto paper.
Maybe you have a few ideas jotted down here and there, but you need to have all that in one place. Today I will discuss 3 apps you can use that are free and quite good at helping you with your songwriting process.
1. Piano Chords And Scales
To make any song sound right, you need to know your basic chords and scales. Piano Chords And Scales is available from the App Store and Google Play.
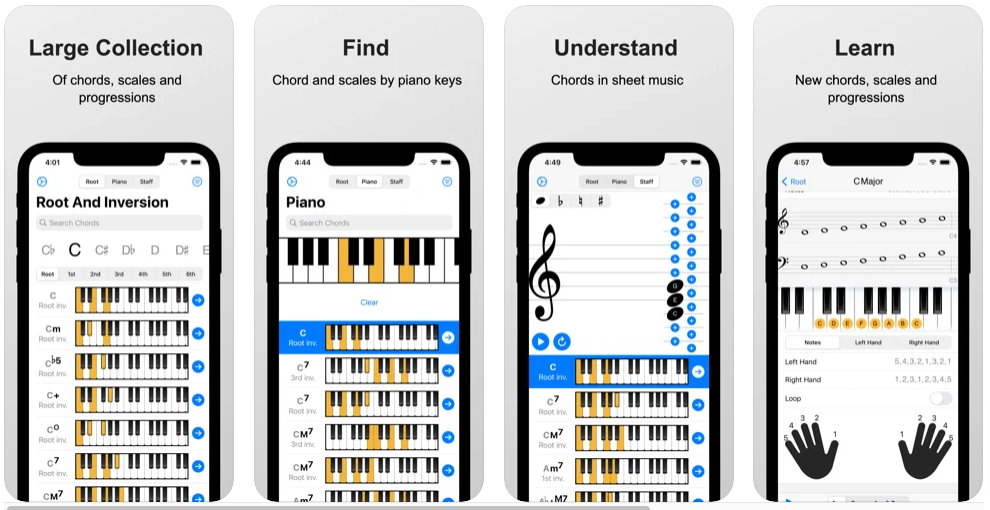
This nifty app shows you the position of all the chords and scales on the keyboard. This is a delight for those of you who have trouble reading the notes on paper but know what the chord names sound like. There's even a feature that lets you build chord progressions and write songs that you can save and playback later.
Now that you've figured out the chords and progressions for your song, you need to commit it to staff paper!
2. Musescore

Musescore is free software that is ideal for first-time score writers. It allows you to connect your MIDI keyboard, or use keyboard and mouse strokes to enter notes on the screen. It might take you a few minutes to get the hang of composing with this software. If you're feeling lost, there are excellent videos on YouTube by musicians that should help you along the way.
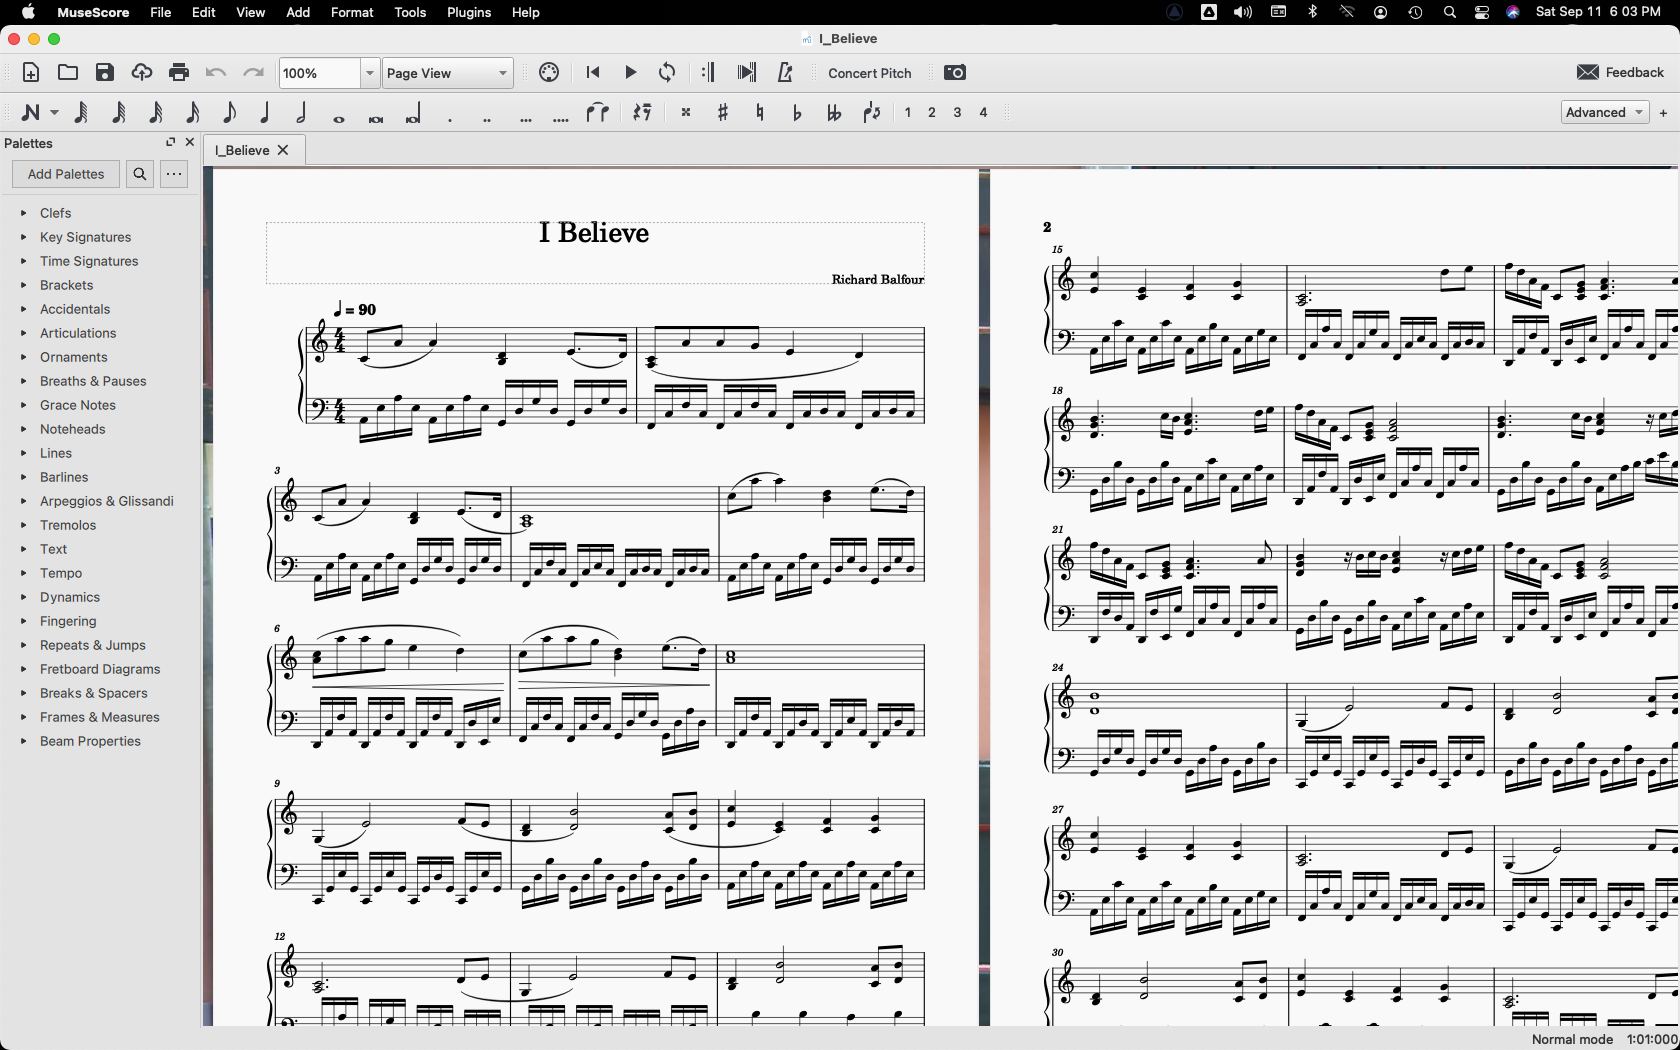
Musescore also has a community website where you will find a wide variety of songs that you can download and play for free. There is even a feature that converts your musical piece into a video on YouTube.
3. Avid-Sibelius First
Sibelius is one of the most well-known commercial music notation programs available. Their First version, a free download gives you an interface similar to Musescore, with a slightly less complicated learning curve.
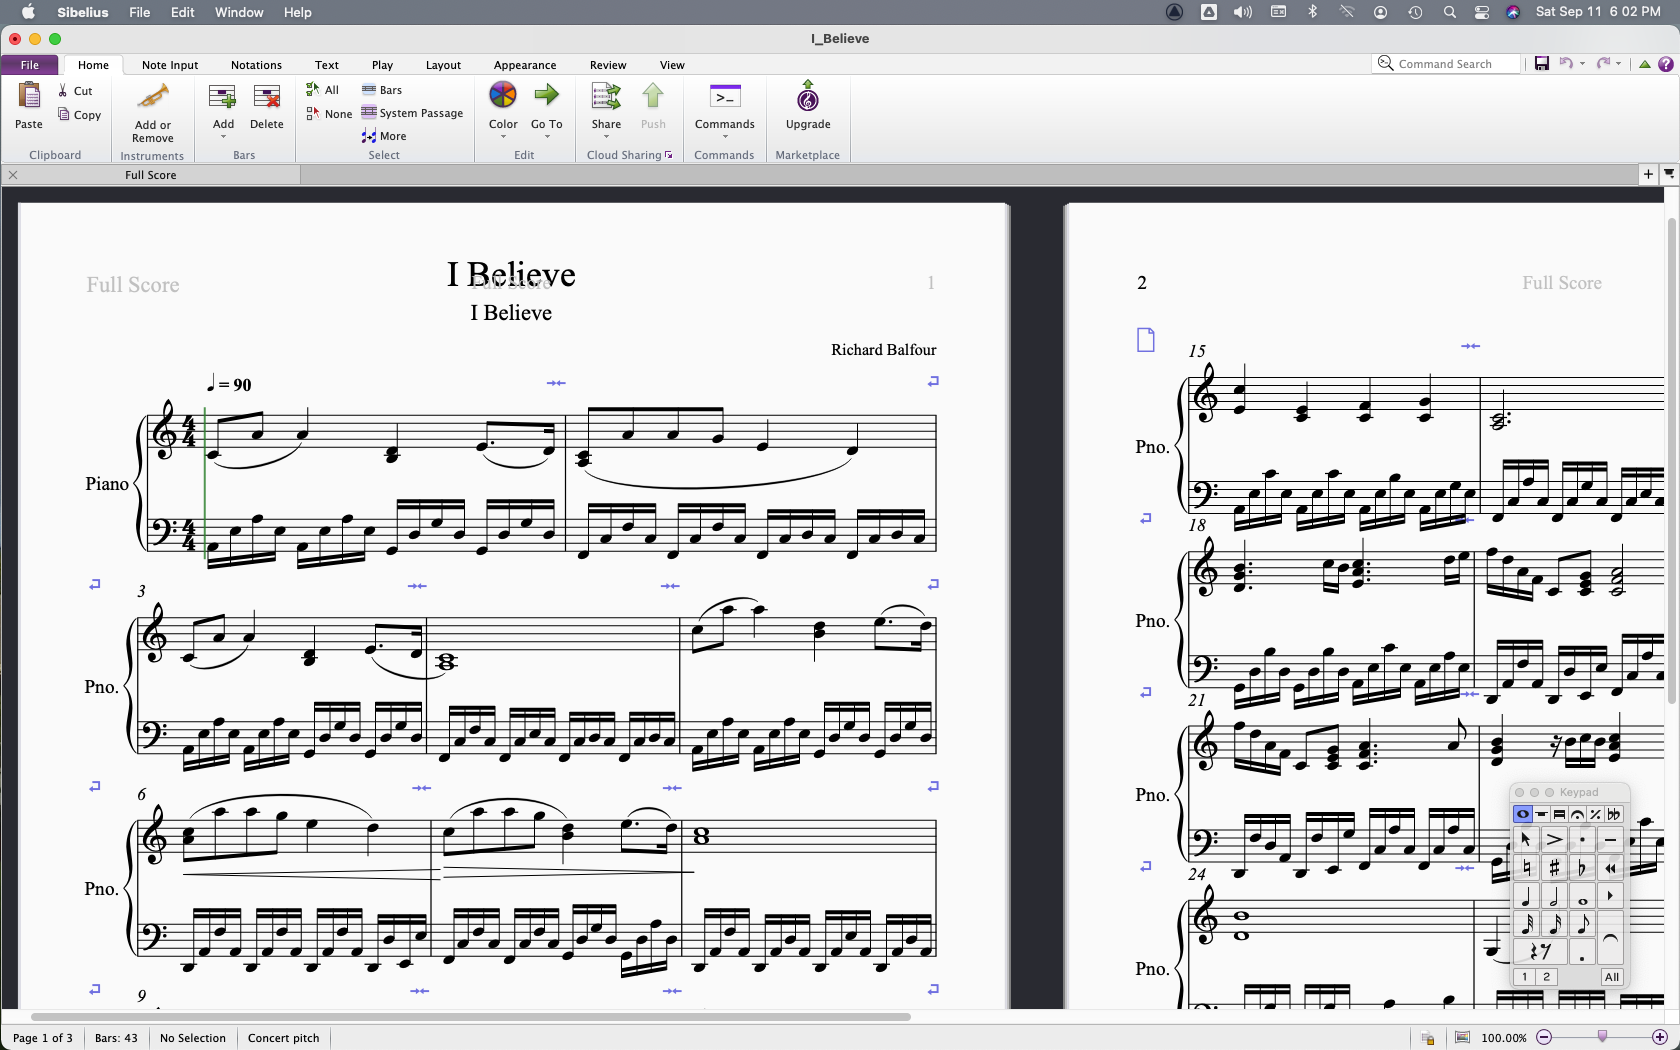
I was able to export my MIDI file from Musescore and import it without issue into the Avid software. There are a few more professional tools in this and in other versions they offer but for a free notation tool this one you can't miss!
Conclusion
Each of these tools should be in your repertoire. With some time and practice, you'll find yourself at ease creating new music and hopefully inspire others to do the same.

