

Running and managing your own domain name, website and Google Services has never been easier!
The website and SEO (Search Engine Optimization) market is the lifeblood for anyone who runs a business these days. If you have a great idea or product but have no knowledge of how the Internet works, your message and dream may never get noticed.
Hiring a company to manage this for you is very expensive. A basic website with domain name registration can cost anywhere from $500 to $5,000. If you want to get ranked high on Google search, you can add another $5,000 to $20,000 in costs. Want an e-commerce site, add another $1,000 to $15,000. And on it goes.
You might decide to try learning things yourself and take a few courses here and there. If you have the time to spare, then take the 2-3 years to get acquainted with the terms, the changing technology, and so on.
As you can see, it can be a nightmare to get started on your own without the proper direction.
Well, as of now you have me to help you through this mess!
For decades I have been building websites and managing data for a number of organizations. In that time, I learned how different people use and manage their data. Back in the day, it was common for companies to spend thousands of dollars on intranets and other collaboration systems like Lotus Notes/Domino, Microsoft Sharepoint. In the mid-1990s, there was a software revolution of sorts where groups of people developed Open Source software that although did not have the aesthetic look and feel of "Microsoft", proved to be more robust and secure than their expensive licensed counterparts.
Open Source software is the way to go! This entire website was built using open-source software. With that in mind, let's get started on what you need to host and manage your domain and website and get ranked on Google!
You'll need the following before we begin:
- a Google account
- a Microsoft Live account
- a Facebook account
1. Select a cPanel hosting provider

This is where your website and data will live. There are many hosting options to choose from, but the one I recommend to get started should cost around $10-$15 per month. GoDaddy and my hosting provider CitéGlobe offer good products and services and are worth the investment.
2. Register/Transfer Your Domain Name(s)

Once you have your cPanel ready to go, the next step is to secure your domain names. This is usually done at the same time as the cPanel registration. Be sure to give proper thought to the names you wish to use, and if you'll be using .com .ca. org .net or any other domain suffix. You can order as many as you like. They range from $10 to $50 per year, or you can order a few years in advance.
If you already have an existing domain name you can transfer your data to another hosting service that has cPanel. Some providers such as Wix are limited in what they can provide for running your server. cPanel offers many advantages that most other Domain Control Panel utilities lack.
3. Configure a SQL database for your Joomla Content Management System
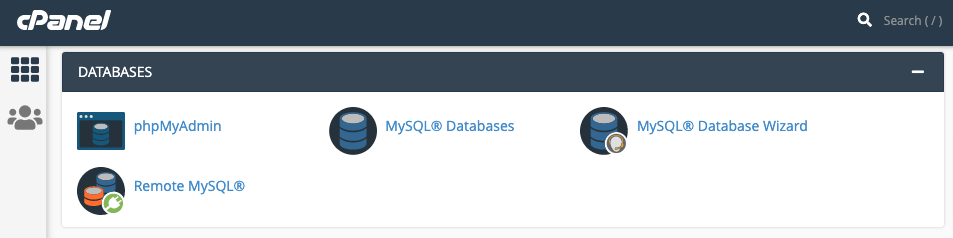
This procedure is typically used once when initially installing the Joomla system. Use the MySQL Database Wizard to create a database with a user that has ALL PRIVILEGES granted to it. Make sure you take note of the database name, username, and password.
4. Configure your Joomla file system in cPanel

Your home folder for your website should be /public_html. You can get Joomla 3 here. Upload and extract the contents of this zip file in the ROOT DIRECTORY of your home folder.
Note: Although Joomla 4 is available because it is a brand new release the extensions and plugins used with Joomla 3 are not compatible. I strongly recommend using Joomla 3.1x until more vendors provide support for version 4.
5. Install Joomla
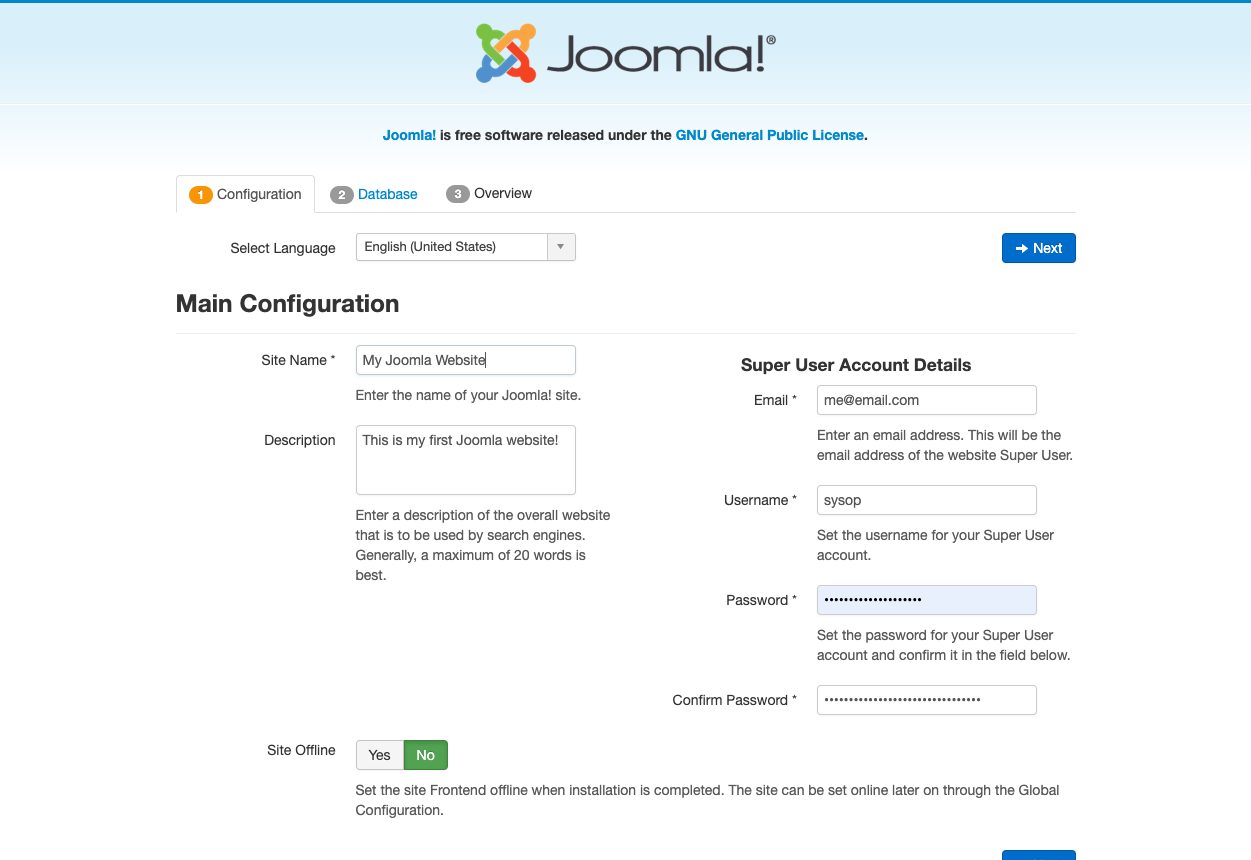
Run the Joomla install from your browser by typing in the URL of your domain name.
You should get a page that looks like this. Enter the information then click Next.
6. Database configuration
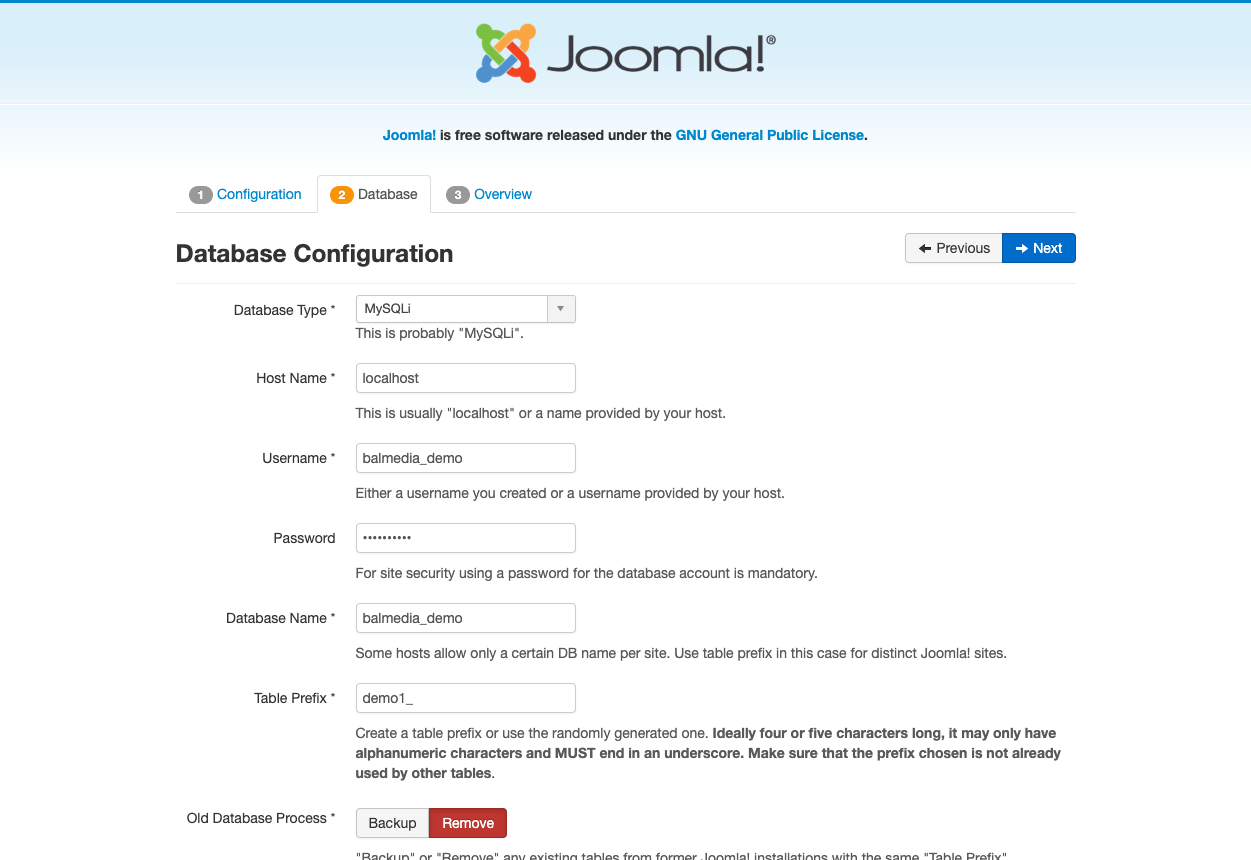
Enter the information for connecting Joomla to the database and user you created in Step 3, then click Next.
7. Select a pre-customized template
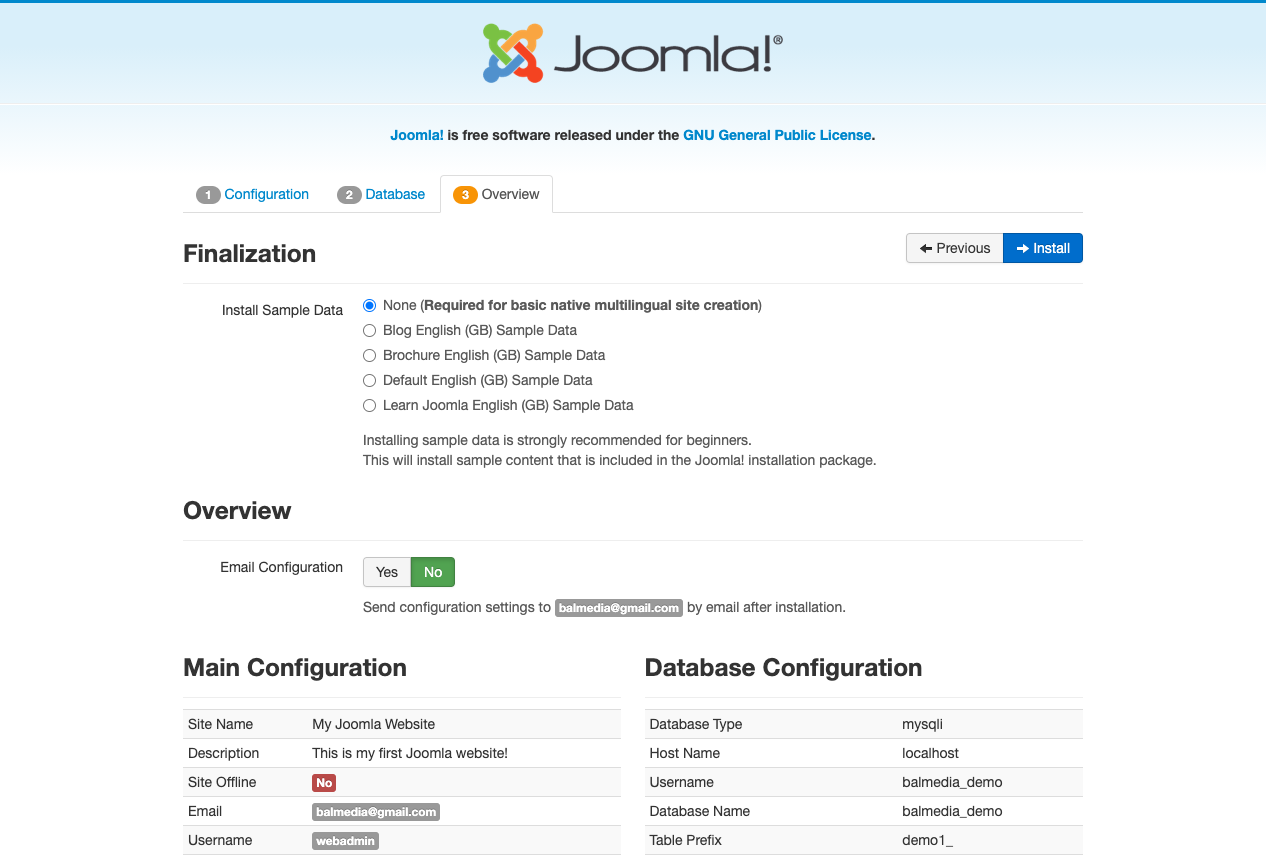
At this point, you can select None to create a blank website and database, or you can use one of the pre-defined templates to see how content is structured in Joomla. For this exercise, we will select the first option, None. Click Next.
8. Clean up
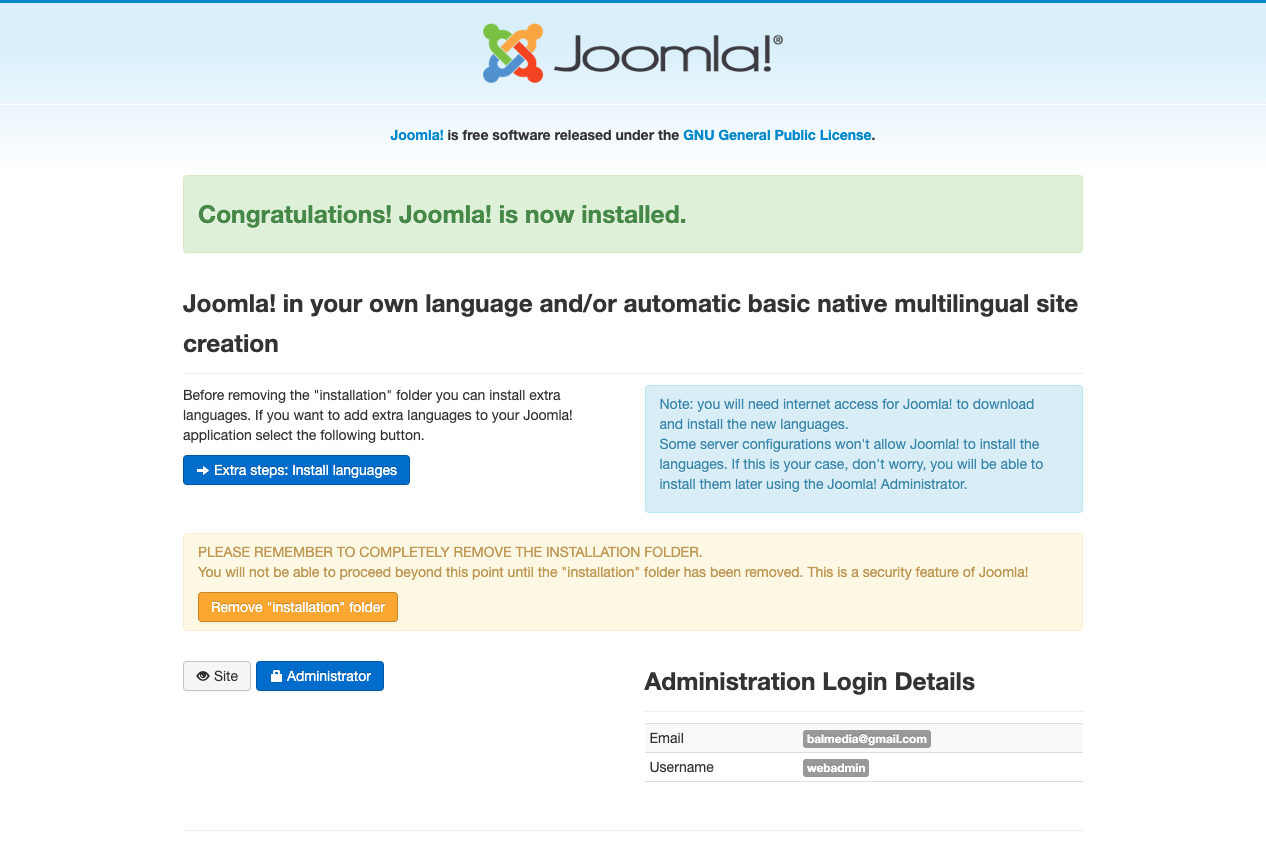
Just a couple more steps to do. Click the Remove Installation Folder button.
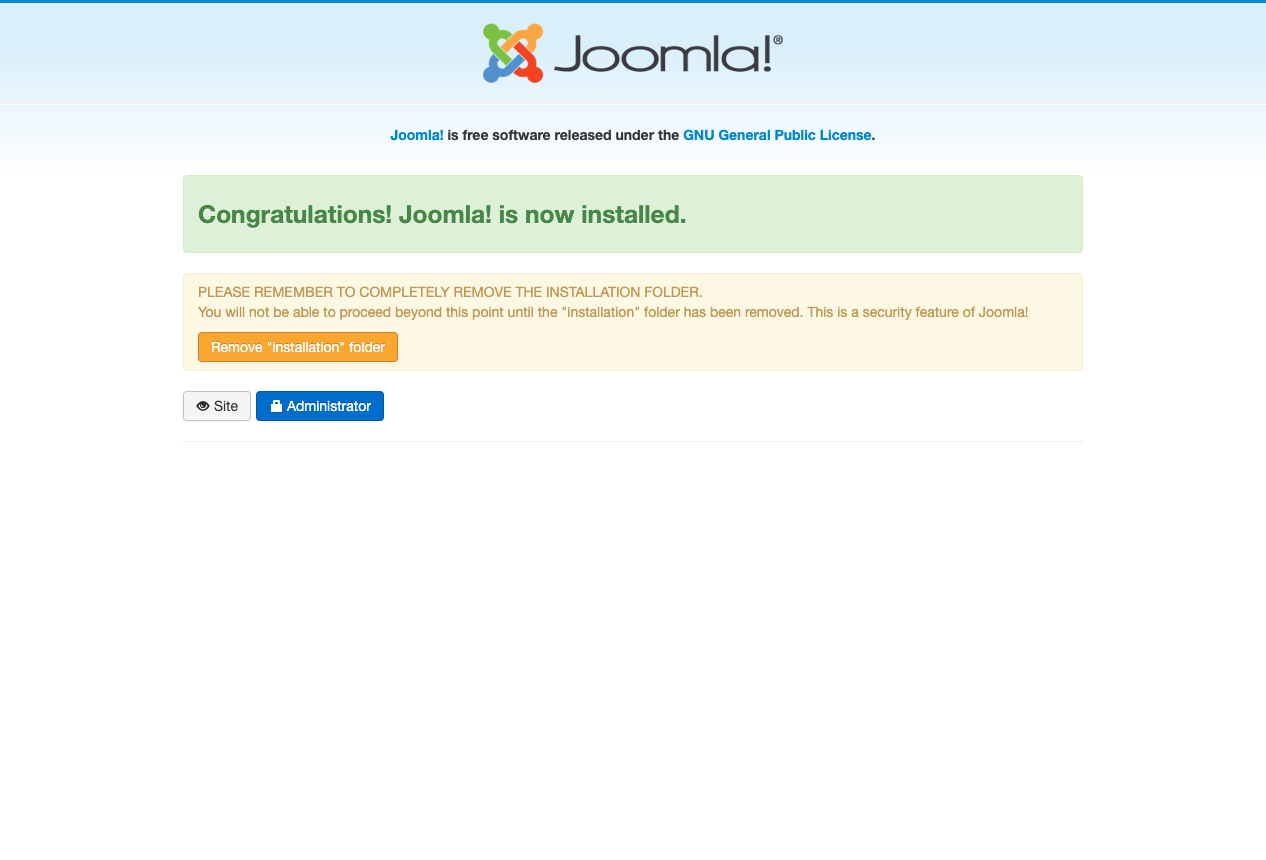
9. Remove installation folder
10. Log in to your Joomla backend.
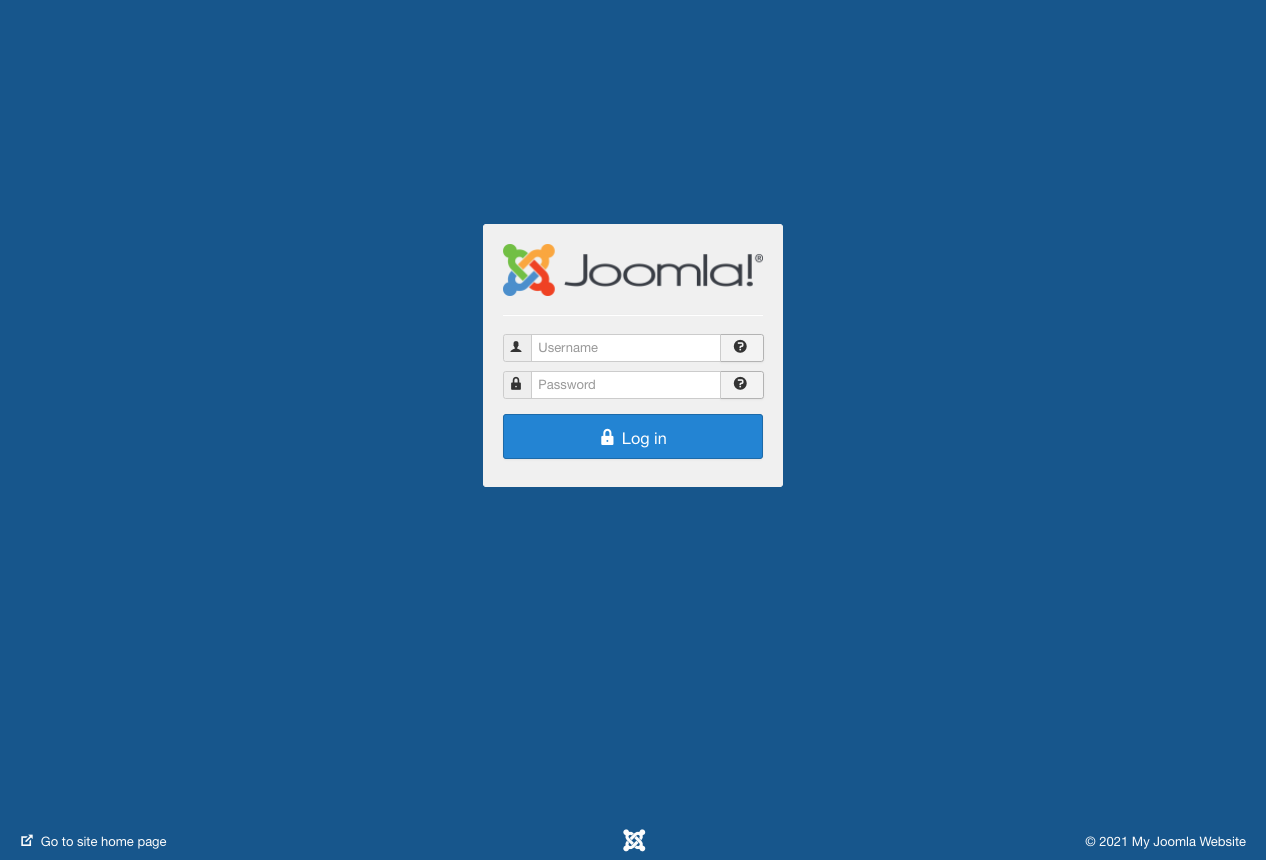
And now you should be able to view the back-end and front end of your Joomla installation.
Once you log in, you'll be greeted by the Joomla Admin Control Panel.

And that's all there is to it! The front end of your Joomla site will look very plain unless you selected a template other than "None" during the installation.
The next blog in this series will look at fine-tuning your domain cPanel and your Joomla server before we load it up with plugins and other fun stuff, so stay tuned!


")
")
")